

Glassing a surfboard means laminating fiberglass cloth to a shaped foam blank with resin, then building up and sanding a hot coat until the surface is smooth and sealed. The schedule we run on every board is seven steps: prep the blank, cut and lay the cloth, laminate it with resin, trim the rails, hot coat, sand, then gloss or sand finish. Skip a step or rush it and it shows up later, as a soft spot, a yellowed patch, or a board that's heavier than it should be. Here's the schedule in plain terms, the way we run it at our shop in Costa Mesa.
In this article
- What you'll need
- Step 1: Prep the blank
- Step 2: Cut and lay the cloth
- Step 3: Laminate the cloth
- Step 4: Trim the rails
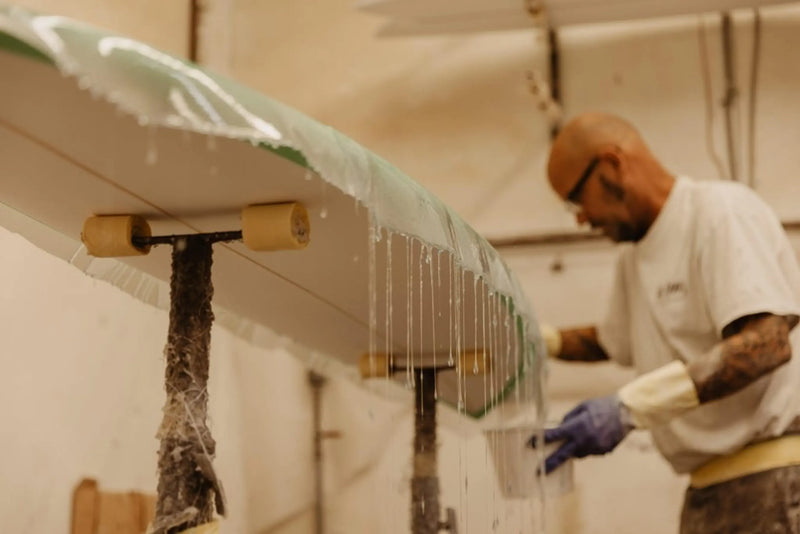
- Step 5: Hot coat
- Step 6: Sand the hot coat
- Step 7: Gloss or final finish
- Common mistakes
- FAQ
What Do You Need to Glass a Surfboard?
- Polyester or epoxy resin, plus the matching catalyst or hardener
- Fiberglass cloth, typically 4oz or 6oz per layer
- Mixing cups and stir sticks
- Squeegees for wetting out the cloth
- Scissors or a sharp blade for trimming
- Sanding blocks and a range of grits, from coarse to fine
- Gloves and a proper respirator, resin fumes aren't something to breathe casually
Step 1: Prep the Blank
Before any cloth goes on, the shaped blank gets sanded smooth and checked over for dents, dings, or pressure marks from handling. Any flaw in the foam telegraphs straight through the glass job once it's laminated. This is also when stringers and any inlays or color work get finalized, since nothing gets added once the cloth is down.
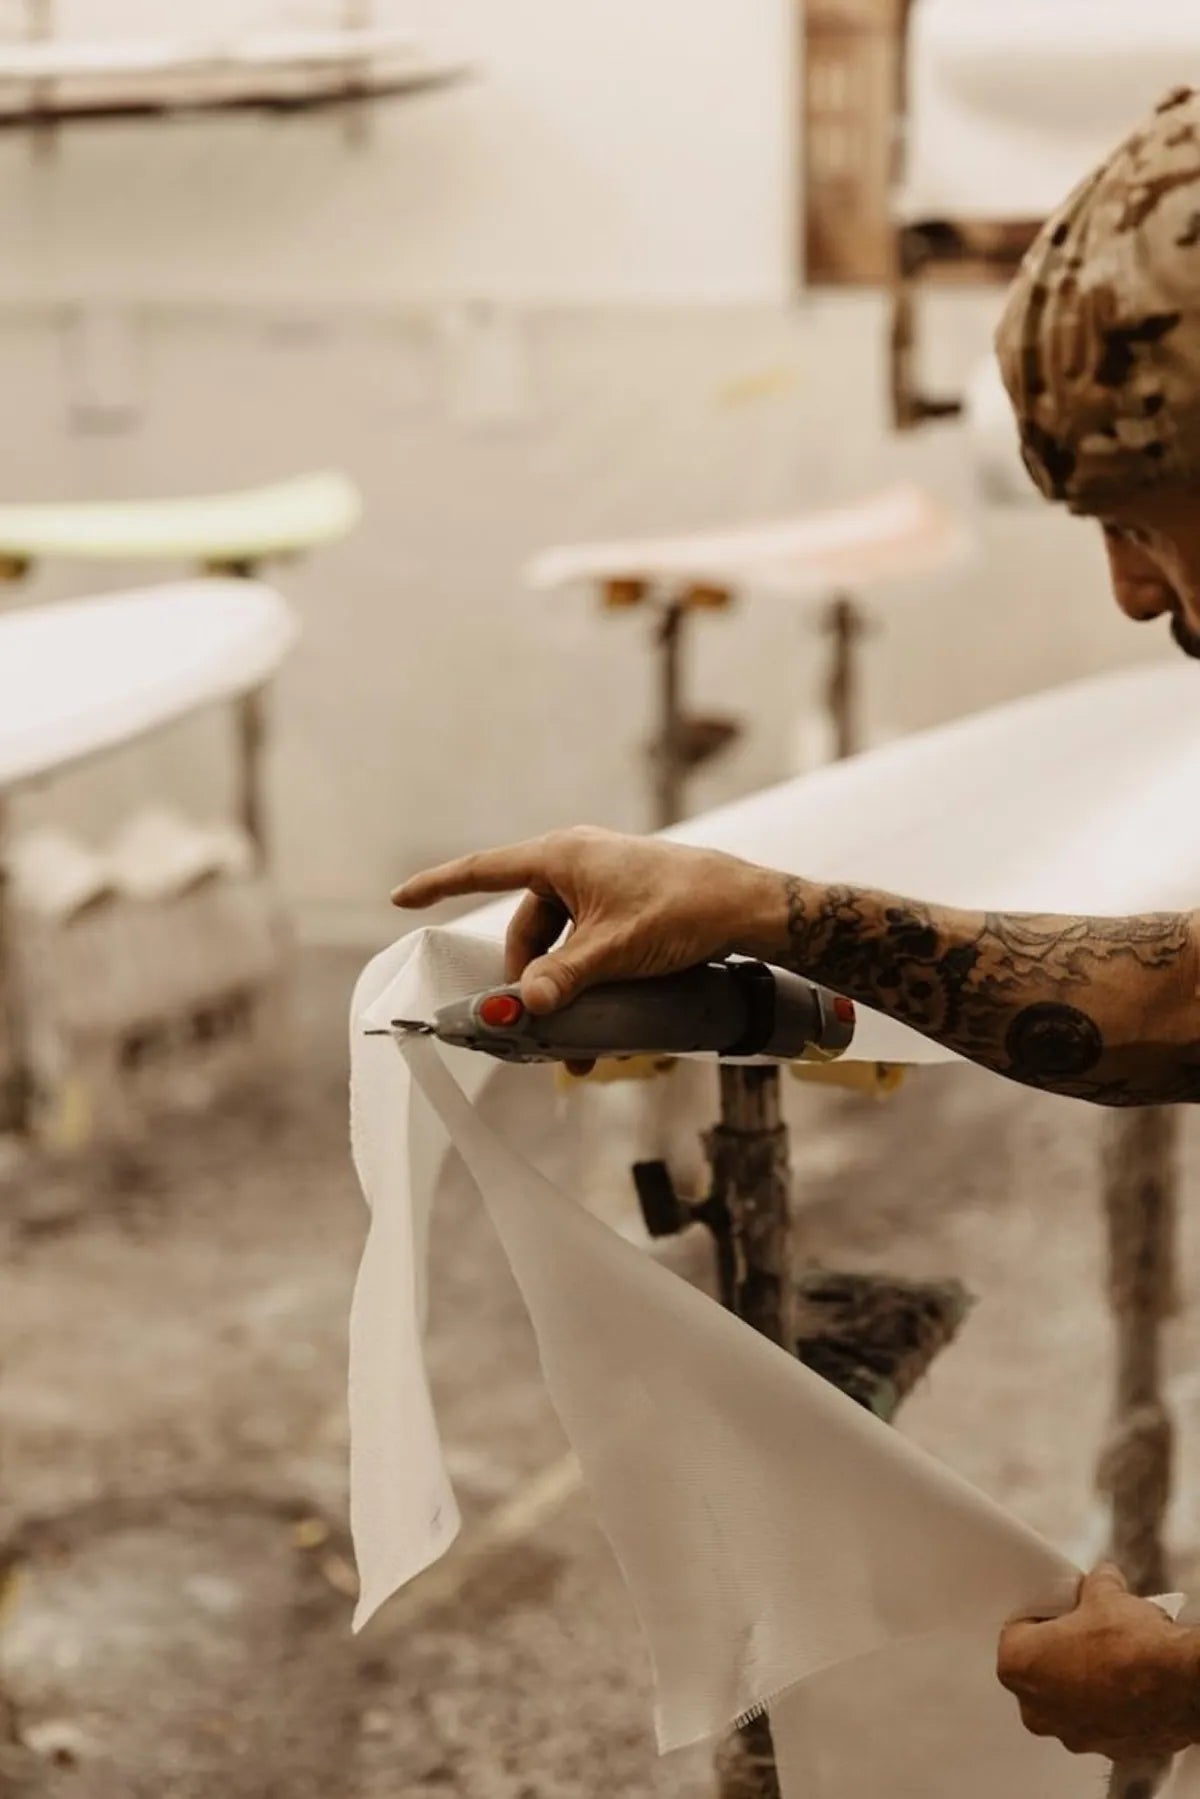
Step 2: Cut and Lay the Cloth
Fiberglass cloth gets cut oversized and draped over the deck and bottom separately, with enough overlap at the rails to wrap and overlap on the opposite side. A shortboard typically runs a lighter schedule, something like 4oz plus 4oz on the deck and 4oz on the bottom, while a longboard or a board built for durability runs heavier cloth. Getting the cloth smooth and wrinkle-free here matters more than people expect, a wrinkle now is a bump later.
Step 3: Laminate (Wet Out) the Cloth
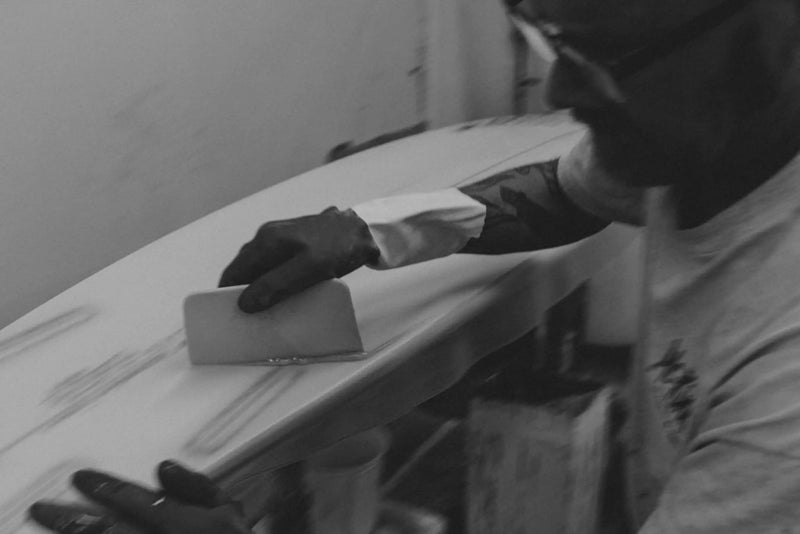
Resin gets mixed with catalyst and poured onto the cloth, then squeegeed out from the center toward the rails. The goal is full saturation with as little excess resin as possible, every extra ounce of resin is an ounce of weight the board didn't need. This coat is what actually bonds the cloth to the foam, so working fast and even matters more than working slow and careful once the resin starts to kick.
Step 4: Trim the Rails
Once the laminate coat has gelled but before it's fully hard, the excess cloth at the rails gets trimmed clean with a blade. Time this wrong and it's either impossible to cut cleanly (too hard) or it tears and pulls (too soft). This is one of the steps that separates a clean rail line from one that needs a lot of extra sanding to fix.
Step 5: Hot Coat
The hot coat is a second, thicker resin coat applied over the cured laminate. It fills the weave of the cloth so the surface can actually be sanded smooth instead of sanding into the fiberglass itself. It's called a "hot" coat because a faster-curing mix is typically used, hence the extra heat as it kicks.
Step 6: Sand the Hot Coat
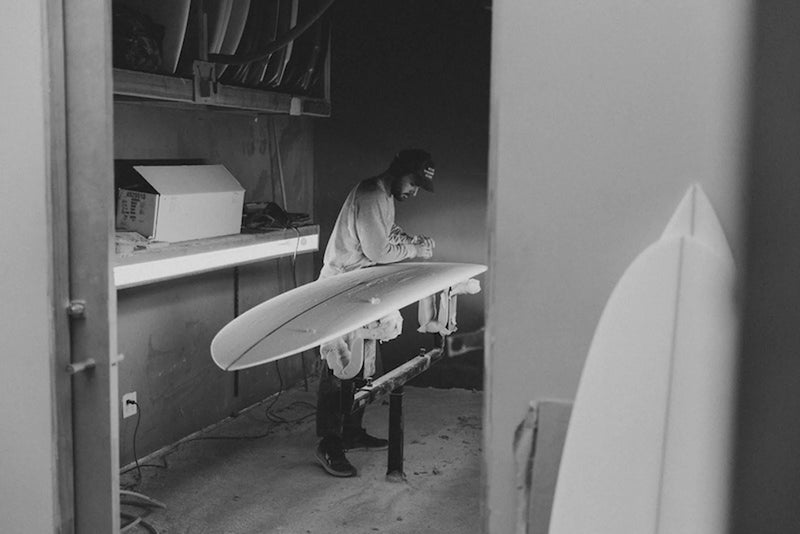
Once the hot coat is fully cured, it gets sanded down in stages, coarse grit first to level it, then progressively finer grits to smooth it out. The goal is an even surface with no dips or high spots and no sand-through into the cloth underneath. This step alone can take longer than the entire lamination process on a board built for a glossy finish.
Step 7: Gloss or Final Finish
From here, a board either gets waxed for a matte, ready-to-surf finish or goes through an additional gloss coat and polish for a mirror finish. Gloss adds time, weight, and cost, so most performance shortboards skip it, while longboards and boards built as showpieces usually get the full gloss treatment.

Polyester and epoxy, the same materials we run through this schedule every day.
Common Glassing Mistakes to Avoid
- Using too much resin. It doesn't make the board stronger, it makes it heavier and can leave it more brittle.
- Rushing the cure. Trimming, sanding, or recoating before the previous step has properly gelled is the fastest way to a messy rail line or a lifted patch.
- Wrong catalyst ratio. Too little and the resin never fully hardens. Too much and it kicks so fast there's no time to work it smooth.
- Sanding through the cloth. Once you sand past the hot coat into the weave itself, that spot needs a patch, not just more sanding.
Frequently Asked Questions
What's the difference between glassing with polyester and epoxy?
Polyester resin is cheaper and more common on traditional PU foam boards, but it's more brittle and has stronger fumes. Epoxy is lighter, more flexible, and bonds better to EPS foam, but it costs more and has a shorter working window once mixed.
How many layers of fiberglass does a surfboard need?
It depends on the board. A lightweight performance shortboard might run a single 4oz layer on the bottom and two layers on the deck for extra strength underfoot. A longboard or a board built for durability runs heavier cloth, sometimes 6oz throughout.
How long does resin take to cure before you can sand it?
A laminate coat is usually ready to trim within an hour, but a full cure hard enough to sand well can take anywhere from several hours to overnight, depending on the resin, the catalyst ratio, and the shop temperature.
Can a beginner glass their own board?
It's possible with practice, patience, and the right safety gear, but the learning curve is steep. Most of the mistakes that ruin a first glass job, like wrinkled cloth or an uneven hot coat, only become obvious once the resin has already cured.
Do you need a respirator to glass a surfboard?
Yes. Resin fumes, especially polyester, aren't something to work around without proper ventilation and a respirator rated for organic vapors. This isn't a step to skip.
Seven Steps, No Shortcuts
Prep the blank, lay the cloth, laminate it, trim it, hot coat it, sand it, finish it. Every board that leaves our shop in Costa Mesa goes through the same seven steps, whether it's a single custom order or a production run for a shaper we've worked with for years. The schedule doesn't change. What changes is the cloth weight, the resin type, and the finish, all of it built around the board a rider actually needs.
Building Your Own, or Want Us to Glass It?
Shop resin and cloth for your own build, or drop off a shaped blank and let our team run the schedule for you.